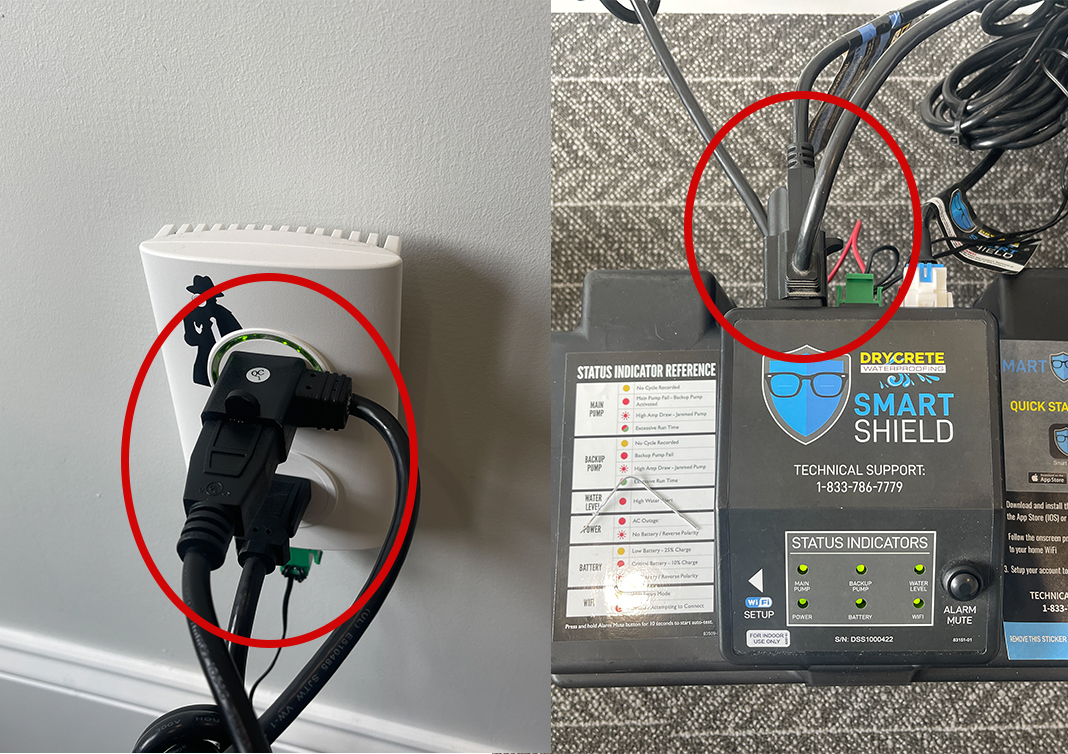
Drycrete Waterproofing uses sump pumps that are built to last. Our belief in our pumps is backed by a 5-year manufacturer’s warranty. However, as with anything mechanical, there is a chance that wear, and tear or improper maintenance can lead to partial or complete failure of the system over time.
When this happens Drycrete can send a tech out to your home to replace the malfunctioning component. If you are within your 5-year manufacturer’s warranty then the replacement part will be free of charge, however, there is a charge associated with mobilizing a tech to service your pump.
*Issues related to iron ochre are not covered under manufacturer’s warranty*
Absolutely! In many instances issues with your sump pump have simple solutions and you can avoid the service charge all together. Watch the video below or follow the written instructions to run through the self-diagnostic process:
You’d be surprised how many times this is the culprit. If you have a dual pump battery backup skip to step 4
If you don’t have a GFCI outlet or pressing the reset button doesn’t work, then check your electrical panel. Look for switches that are in the off position or in a position that is different than the others.
If the pump turns on, then it’s a bad float switch sensor and we need to come out and replace it. Give us a call ASAP.
This will also give you the ability to pump out any water that’s collecting in the container. Having the pump plugged directly into power will cause the pump to continuously run. You will need to unplug it when the water is all pumped out to avoid dry pumping and plug it back in as more water collects.
Check to make sure your float switch is free of obstructions. If your pump is not running, ensure that your switch can rise all the way to the top. If your pump is continuously running, ensure that the switch can move all the way down into the off position.
Download and Install the Smart Shield App from the App Store or Google Play, depending on your device.
Open the app and create a new Smart Shield Account.
Make sure the Smart Shield System is in WiFi Setup Mode.
Connect to the Smart Shield System
Enter your Wi-Fi Network Credentials
If you are having issues with setting up your Smart Shield device via the app, you can manually set up the device. This process works on all Apple and Android devices.
(Make sure you enter the correct Wi-Fi password!)


