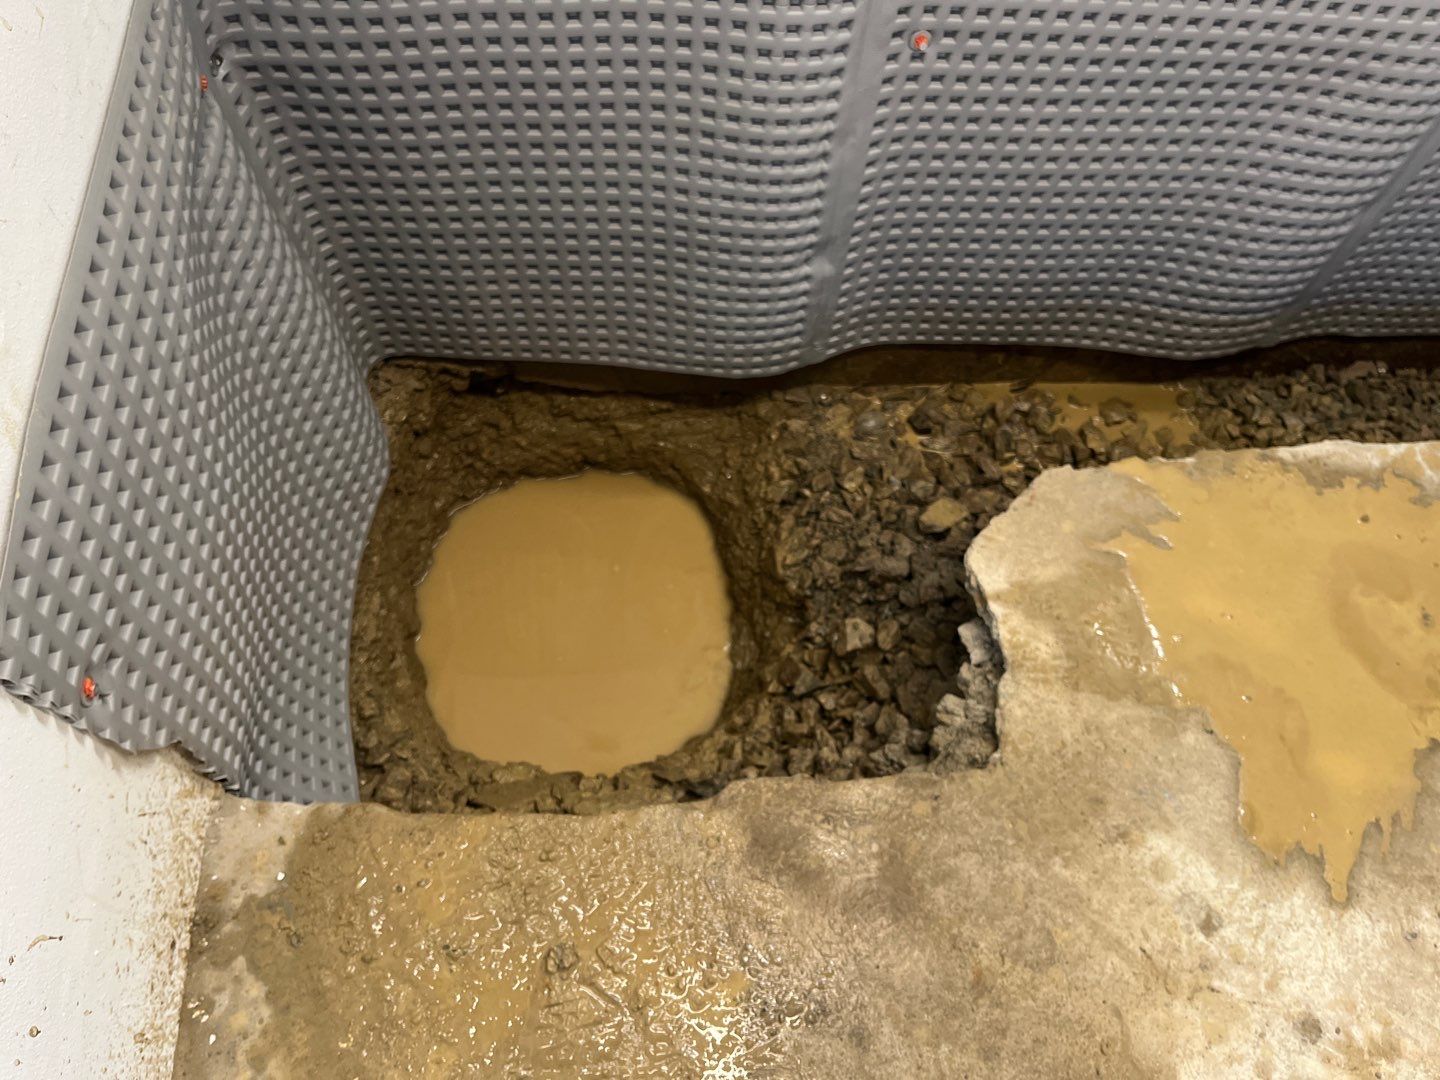
If water is seeping into your basement or collecting along the walls, it may be caused by hydrostatic pressure around your foundation. At Drycrete, we install interior French drain systems designed to relieve that pressure and redirect water safely away from your home.
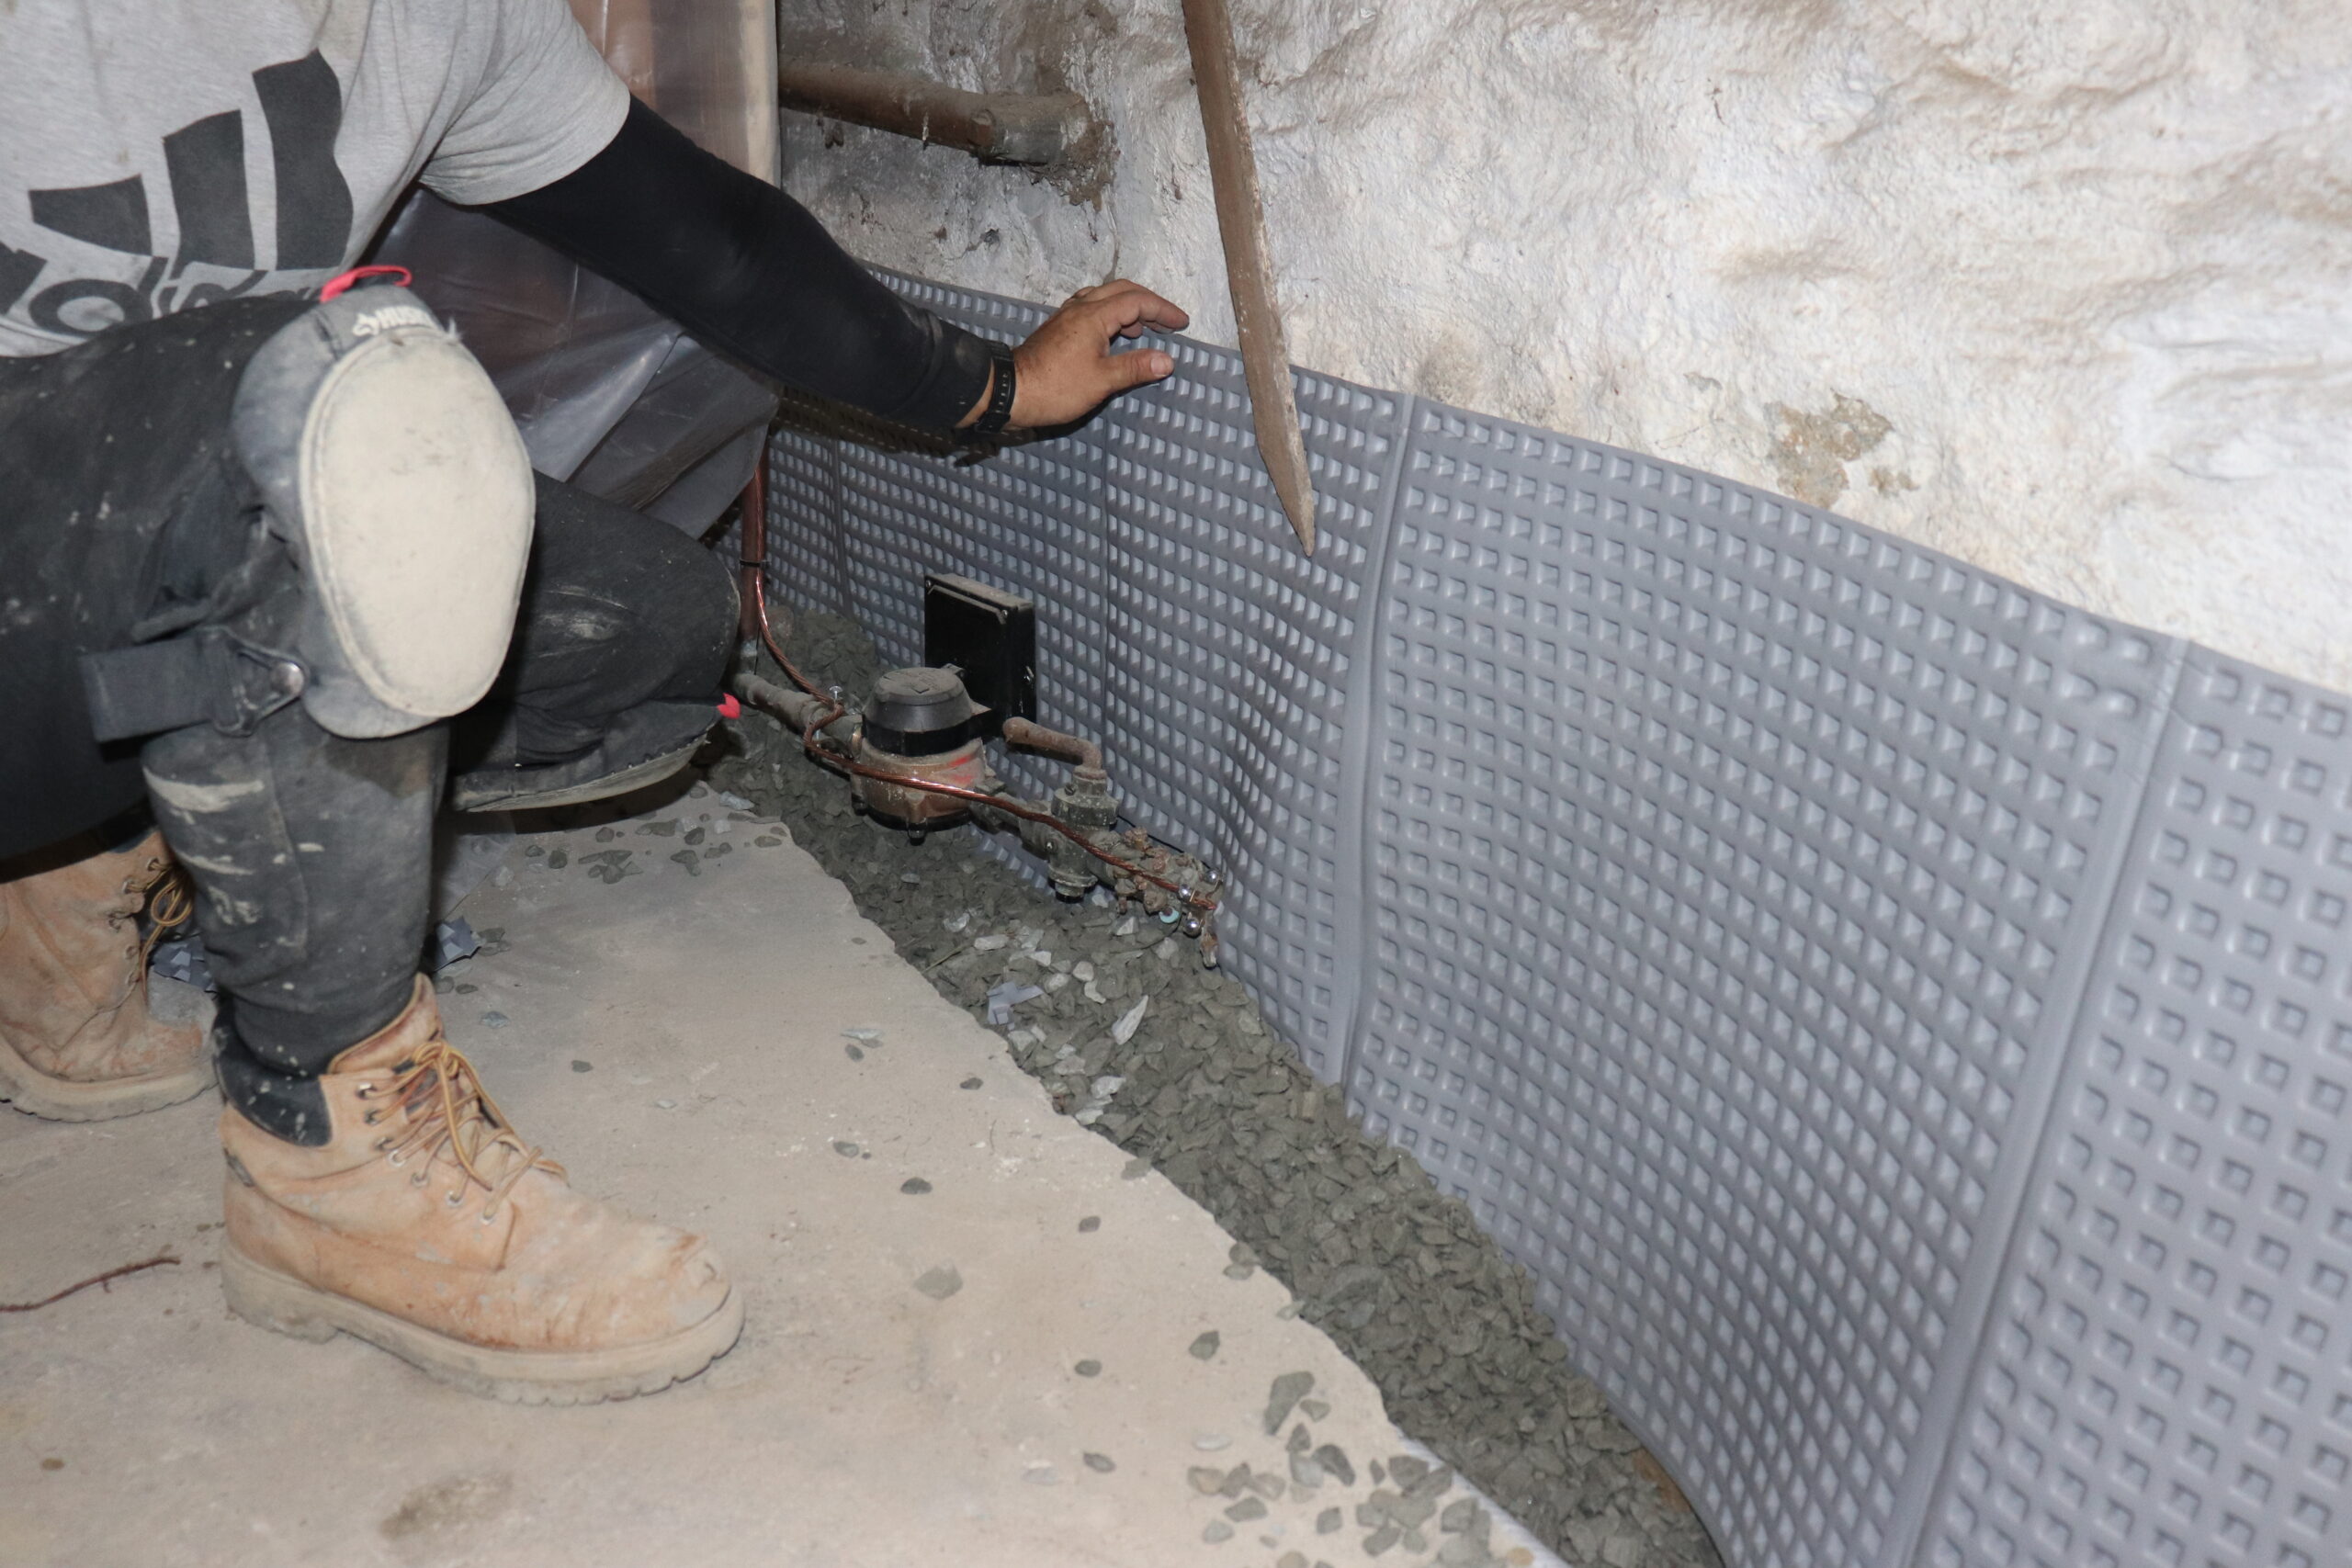
Our system works by capturing groundwater before it reaches the surface and channeling it to a sump pump or discharge line. With thousands of successful installations across Massachusetts and Rhode Island, we offer proven protection against basement leaks and long-term moisture damage.
When it rains or snow melts, water doesn’t just disappear; it moves through the soil and builds up around your foundation. That’s groundwater. And once the soil is saturated, the water has nowhere to go but against and under your basement walls.
Think of your foundation like a bowl set in the earth. Groundwater collects in the bottom of that bowl, especially after heavy weather. With no natural way to drain, pressure builds underneath your slab. This is called hydrostatic pressure. Eventually, that pressure forces water through cracks, seams, or porous concrete, leading to seepage, flooding, or slab damage.
Drycrete’s interior French drain system is designed to intercept that pressure and control where the water goes, before it reaches your basement.

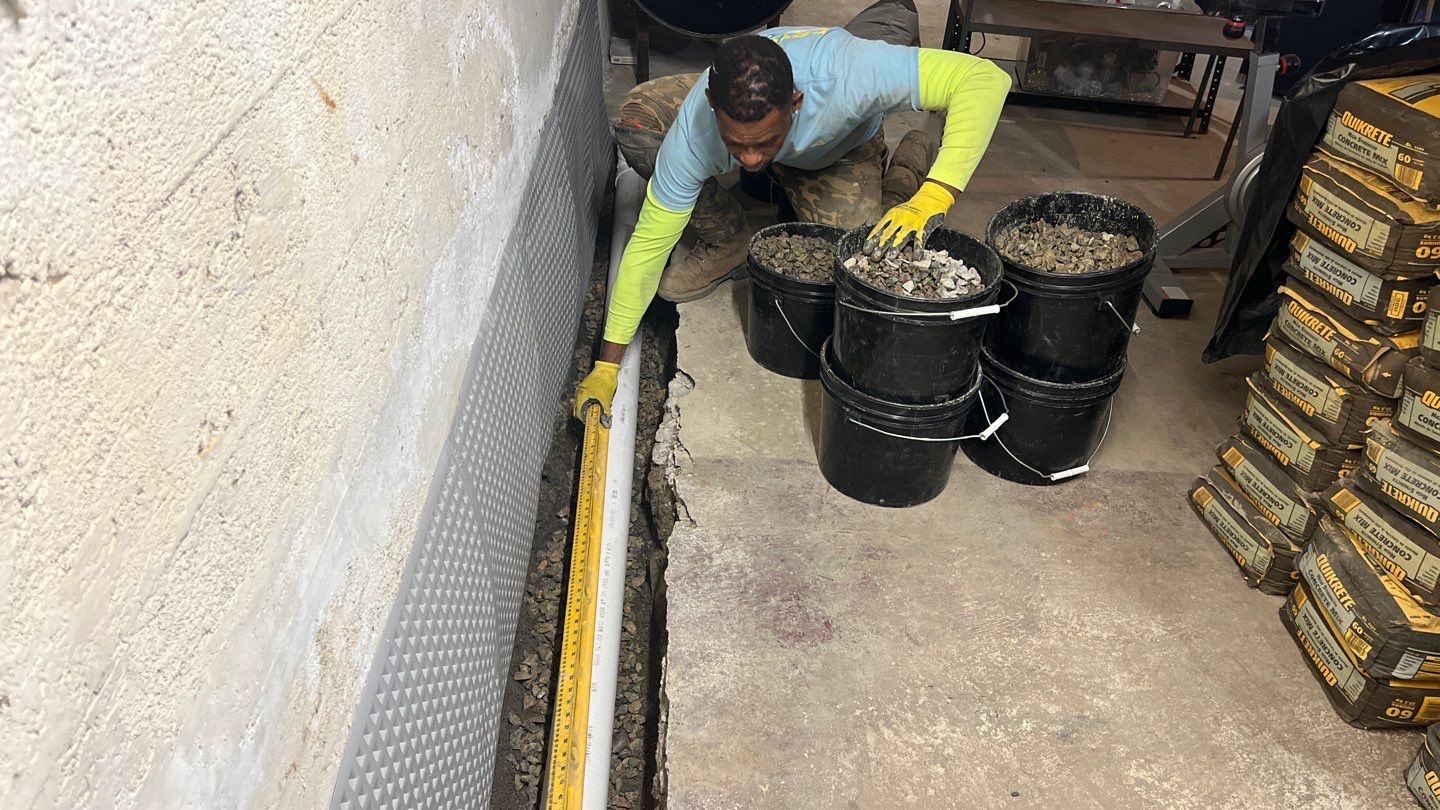
You can’t install a French drain system without a sump pump. If your French drain is the highway that directs the water where you want it to go, then your sump pump is the motor that drives it away from your home. When Drycrete Waterproofing installs a French drain system in your basement we use 10’ lengths of 4” perforated pipe, which allows us to put the proper pitch on each section. This ensures that the water is always flowing towards your sump pit, where your pump is waiting to get that water as far away from your foundation as possible.
For every French drain system we install, Drycrete Waterproofing offers a lifetime transferrable warranty (sump pump annual maintenance is highly recommended). The reason why we feel so confident in offering a lifetime warranty on these drain systems is because we don’t cut any corners on quality. From the preparation process, to installation, to the products we use, we aim to be the best in the industry.


If water is finding its way into your basement, Drycrete can help. Our interior French drain systems are built to control groundwater before it becomes a problem, protecting your foundation and keeping your home dry year-round.
We’ve helped over 11,000 homeowners across Massachusetts and Rhode Island protect their homes from water damage. Schedule your free inspection today and get a system that’s built for the conditions beneath your home.
5.0
Over 800 reviews