There are certain words and terms that are common amongst the trade that a layman might never come across. One of those is ‘parging’. It’s not some arcane technique and the chances are more than good that you’ve seen it without realizing. But what is it? What is it used for? Should you get it done?
Understanding Parging
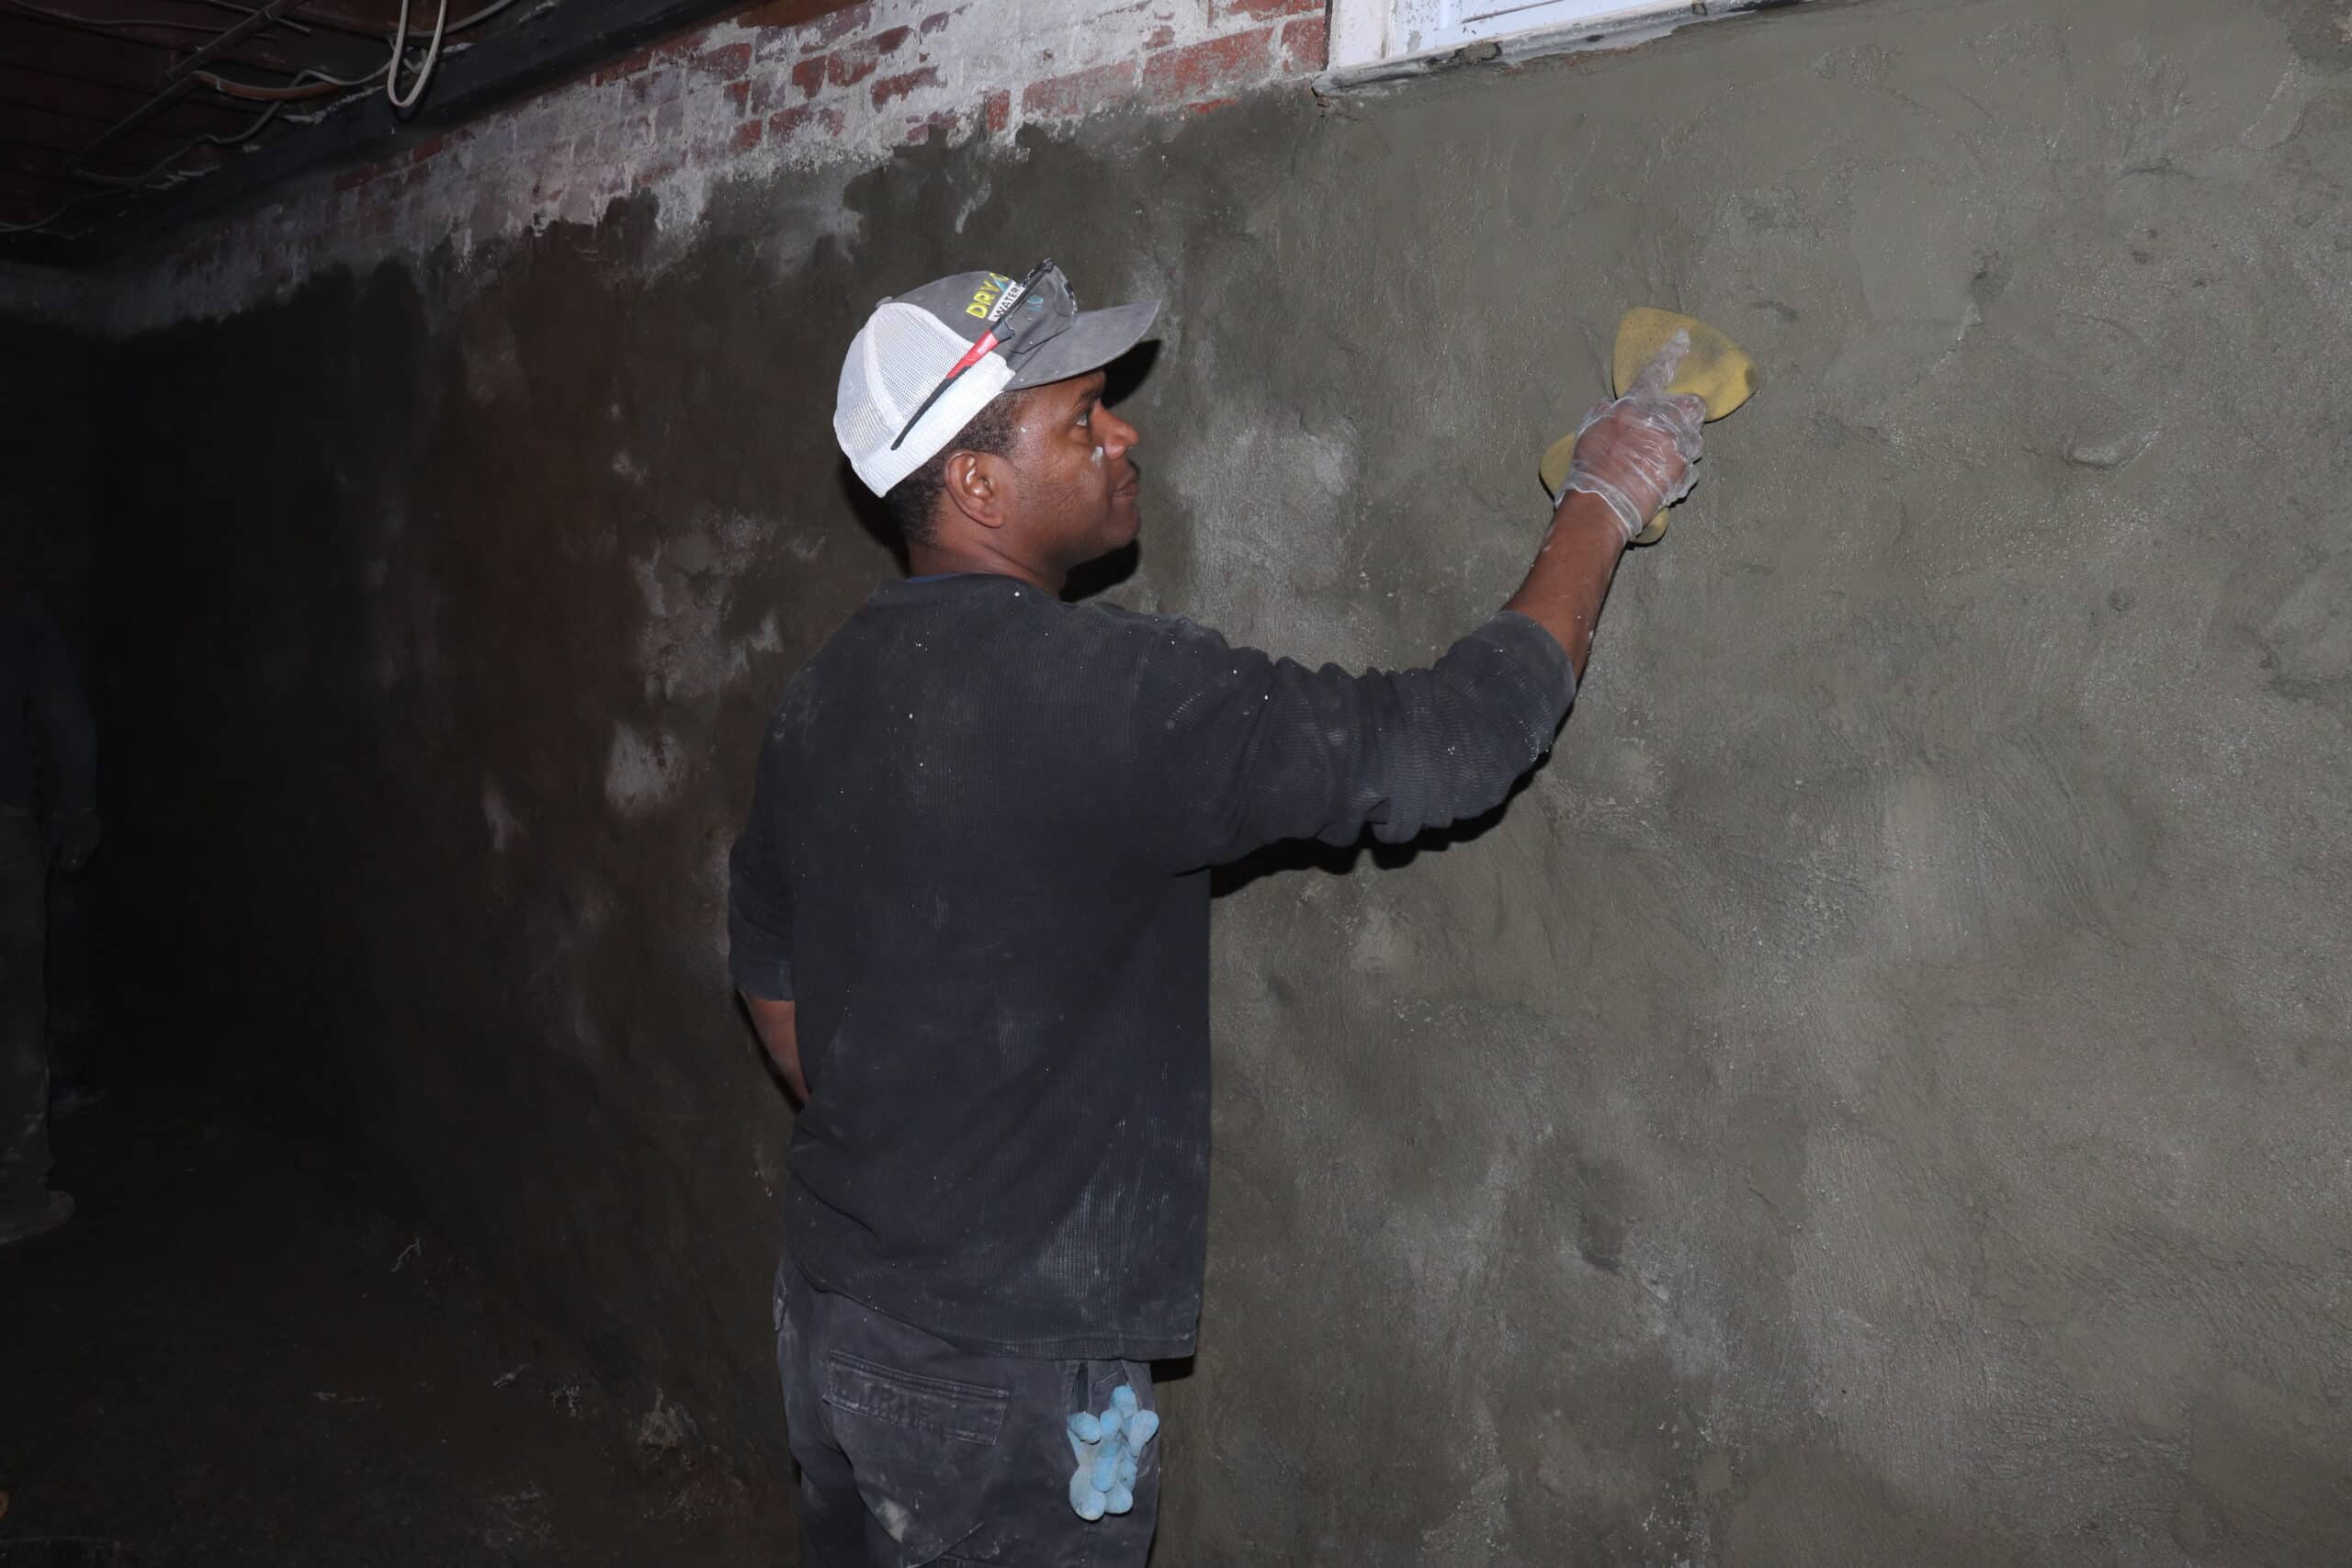
Parging is a method of coating a masonry wall with mortar. It’s generally done as an aesthetic improvement, but it also offers additional protection from the elements as well as waterproofing and insulation benefits. Applying a parge coating over brick or stone means that you can achieve a smooth finish rather than the bumpy one that the base material will leave you with.
A brief History of Parging
Parging (and similar techniques such as stuccoing) were common practice in the days of ancient Rome but fell out of favor during the dark ages (along with the concrete the Romans invented). During the renaissance, artists and architects were interested in re-learning these ancient skills and once more rough brick and mortar walls were being adorned with coatings. Sometimes this coating was molded into decorative forms, though this isn’t very common today outside of historical renovations in certain areas.
Nowadays, the technique is generally confined to block and brick-built basements where the main purpose is to supply a clean, relatively smooth surface to which waterproofing materials can be affixed. It’s also occasionally used in lieu of repointing a masonry wall or covering up one that’s become a bit unsightly.
There are a few variations on the materials used for parging but generally it’s a fairly basic mortar mix consisting of cement, lime and sand. Sometimes various additives such as fibers and colorants might be added to change the properties.
The Purpose of Parging
Parging is primarily an aesthetic exercise, giving a wall a ‘finished’ appearance, much like a skim coat of plaster does. Of course, aesthetics are a personal matter and tend to follow fashion but there’s a strong preference for relatively smooth surfaces at the moment.
That being said, it does have other benefits too:
1. Protection from the elements.
Brick and stone held together with mortar leads to deterioration as the elements work their destructive magic on a home. Applying a parge coat slows this process down by removing the nooks and crannies that have a habit of expanding over the years.
2. Waterproofing Benefits
Following up on the protection from the elements point, parging is a great defense against the damage caused by freeze/thaw cycles. As water finds its way into tiny cracks in your basement walls, it can freeze, expanding and breaking them open a little more. Over time, this will cause serious deterioration and allow water to penetrate further. Parge coats reduce the number of these tiny cracks, making your foundations hardier against the cold.
3. Insulation Benefits
While not a primary purpose of parging, it does give a slight boost to your foundation’s insulation against heat, cold and sound.
The Parging Process
Parging, like the plastering it resembles, is both deceptively simple and surprisingly tricky at the same time. While anyone can likely get a reasonable result by troweling on a suitable mortar mix, getting a good one takes years of practice.
The process goes something like this:
1. Surface Preparation:
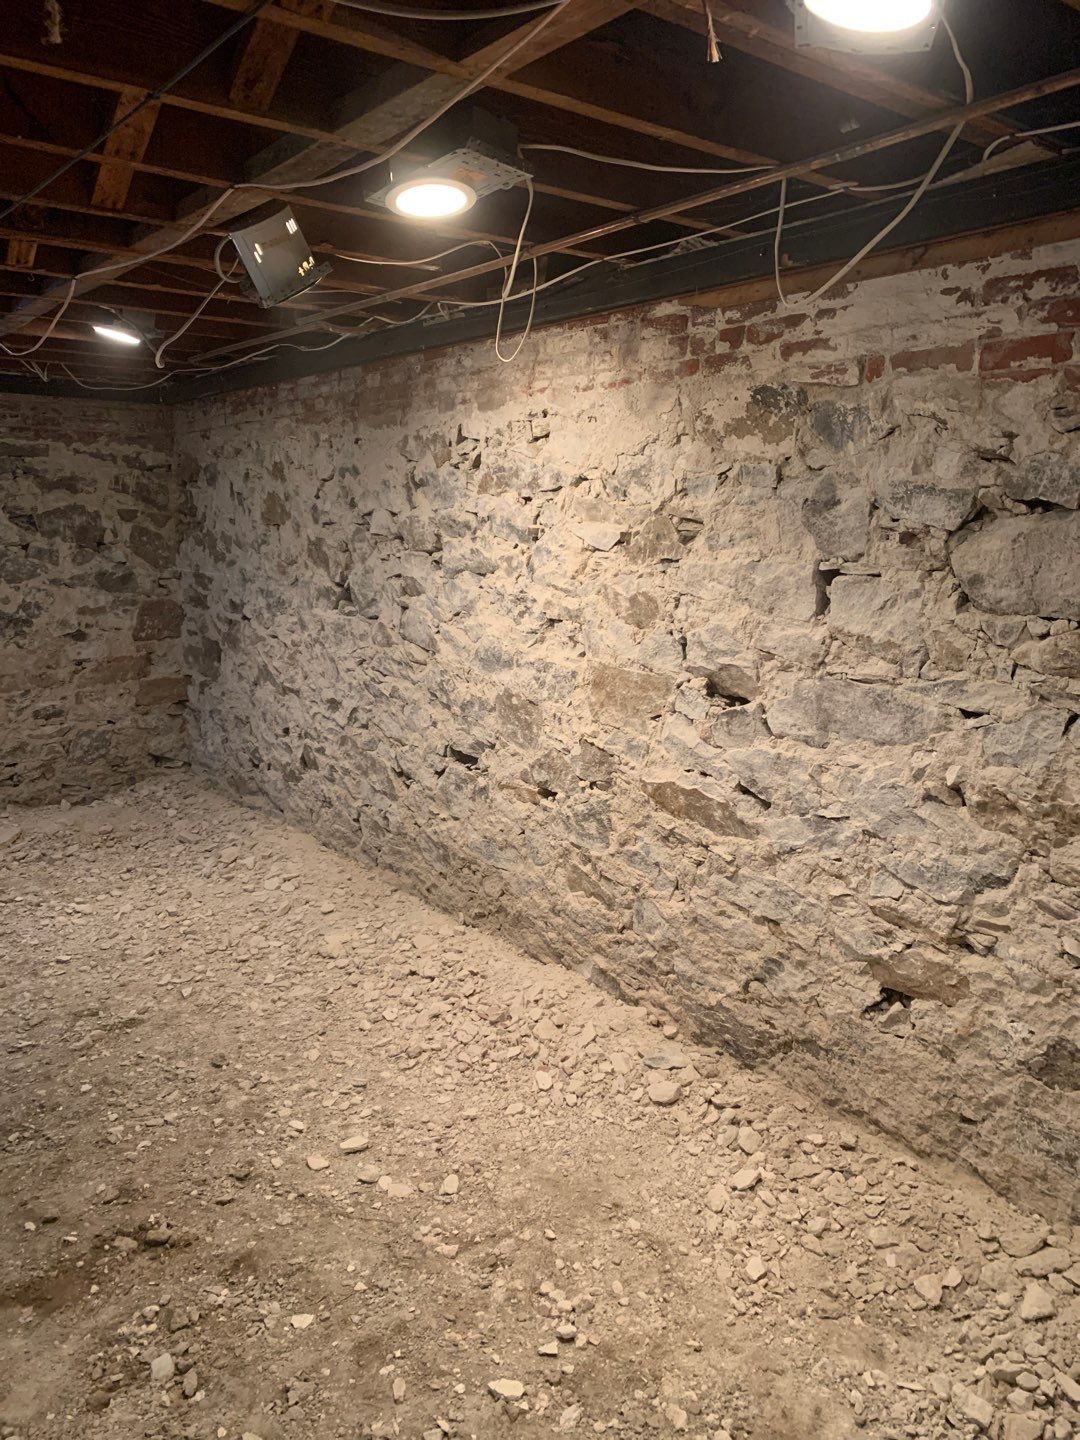
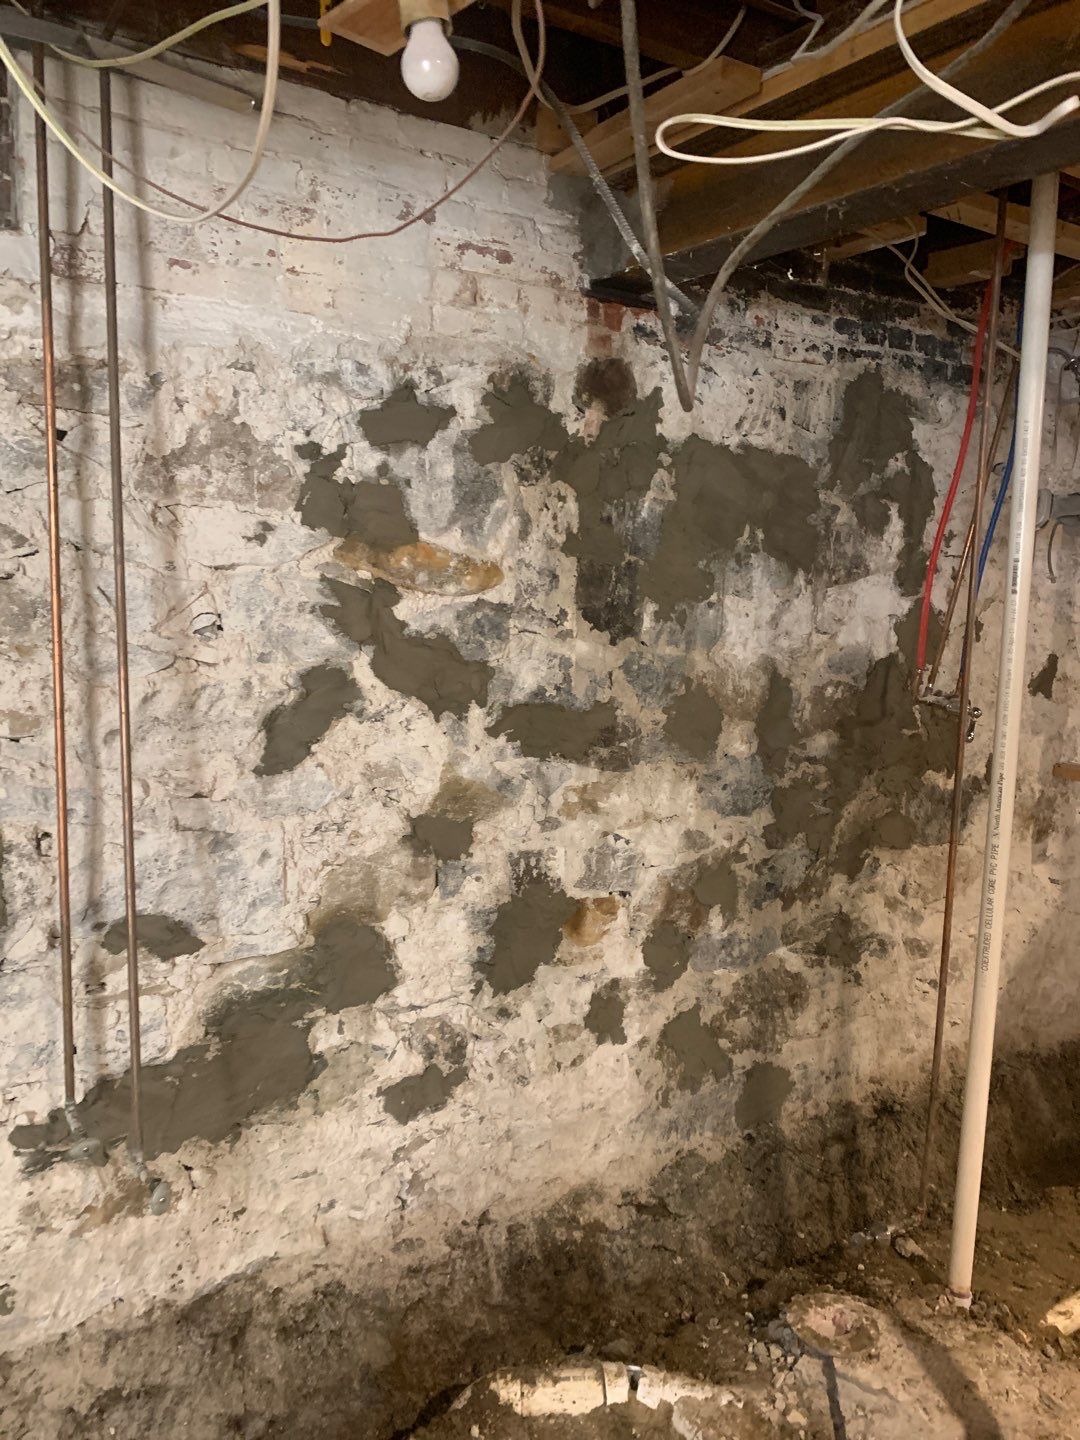
The wall that’s going to be parged needs to be properly inspected, cleaned, loose material removed, and cracks and gaps filled. If the wall is in particularly bad condition, a galvanized steel mesh may be installed over it to provide a sound surface for the parging to stick to.
2. Mixing the mortar

Next, the mortar is prepared. The consistency is generally a bit more malleable than would be used for repointing, allowing it to be applied smoothly. At this point any fibers which are being added for strength or colors will be added.
3. Application
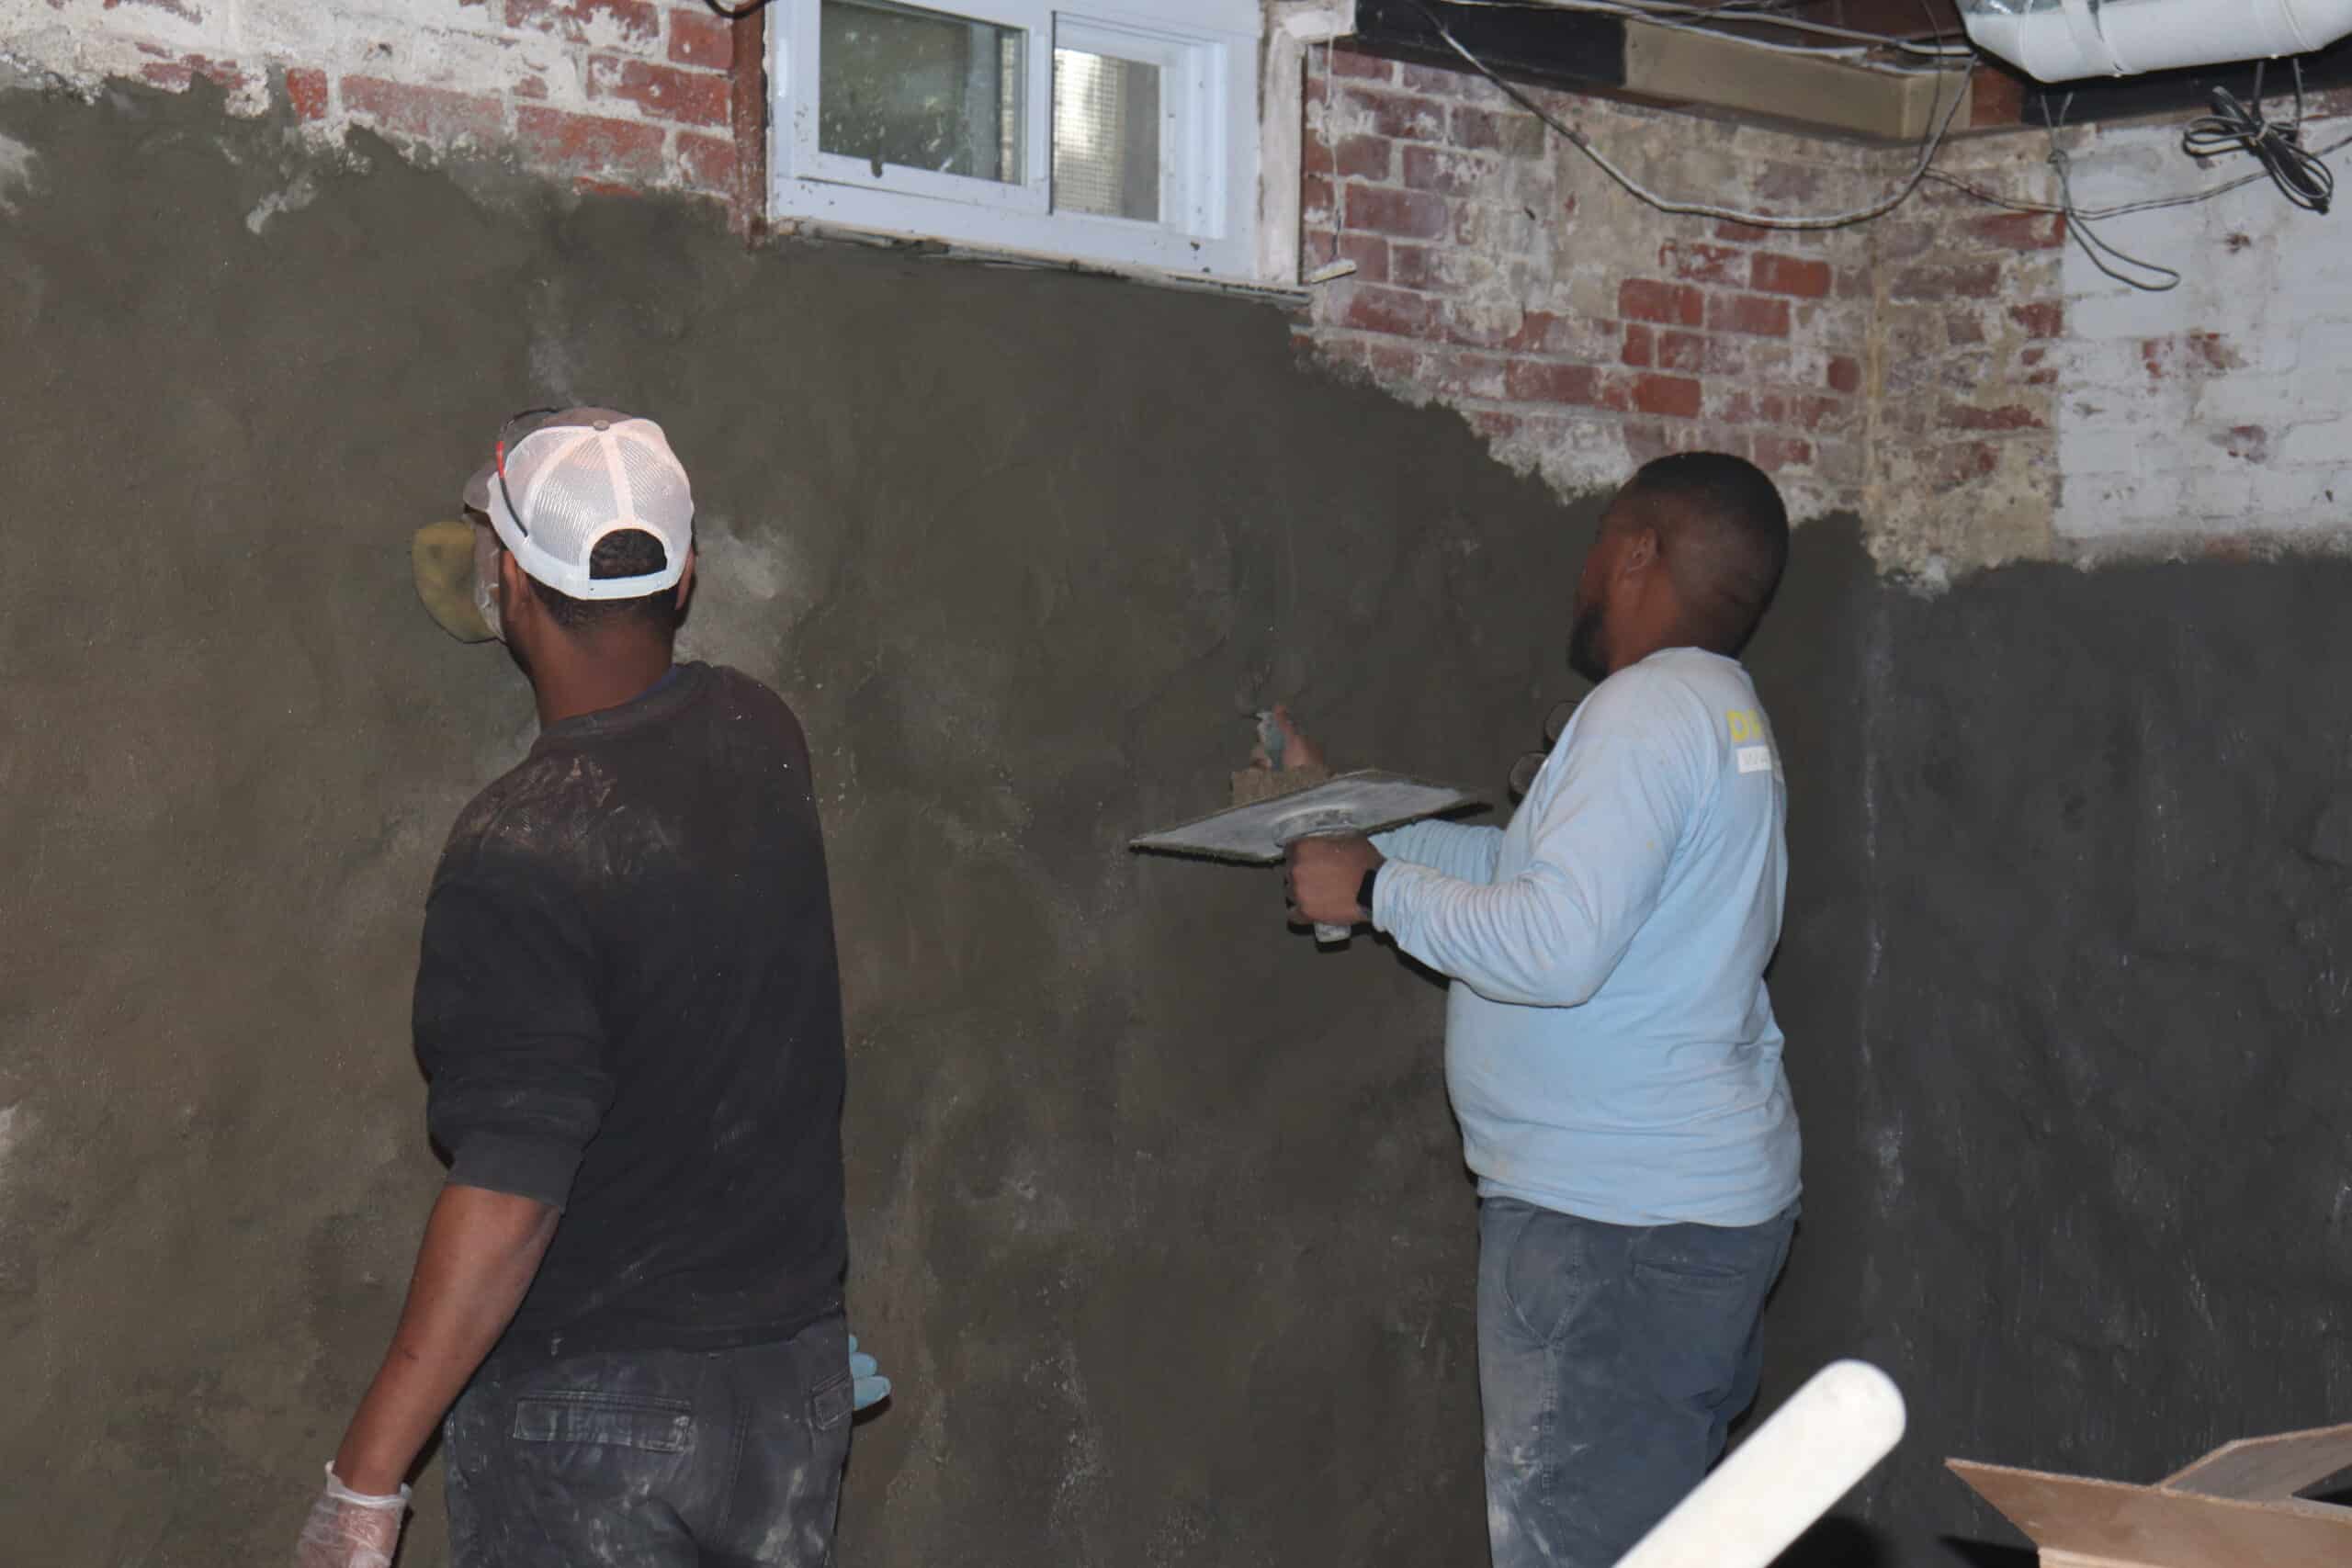
A ‘scratch coat’ will be applied first, using a trowel. This rough coat provides an anchor point for a second, smoother coat that provides the finished effect to stick to. The nature of the finish is determined by the tools and techniques used; texture can be added by using a notched trowel for instance. A smooth coat is most common.
4. Curing and Finishing
Depending on the particulars of the job, water might be applied over the course of the curing period (which takes weeks). This can help avoid cracking, maintaining a smooth finish, even in adverse climates.
As the mortar applied during the parging process contains lime which can be pretty nasty stuff, there are some safety considerations if you’re thinking about attempting a DIY job.
- Masks
- Goggles
- Protective Gloves
- Long sleeves and pants
Types of Parging
As we alluded to above, there are a few different techniques and types of parging that you might come across. The most common are:
Smooth
The primary purpose of smooth parging is to create a uniform, smooth surface. This can then be painted or simply left alone. It provides a great base for waterproofing to be applied over and looks great- providing a definite ‘finished’ look.
It’s surprisingly difficult to get a neat, smooth surface but if you can master the skill, it looks fantastic and is relatively easy to repair.
Textured
Textured parging comes in various forms. Some are as simple as finishing with a notched trowel, providing a pattern (a little like the ‘popcorn ceilings’ of the 50s-70s). Others might incorporate pebbles or stones. These flourishes are generally aesthetic and is common in certain areas and vintages of home, though it does also serve some weatherproofing purpose too.
Acrylic Modification
Sometimes additives such as acrylic are brought into the mortar mix to change and enhance its properties. In particular bringing in these elements can improve flexibility, avoiding cracks and boosting durability.
Common Issues And Solutions
While a properly parged wall is a thing of beauty, they’re not immune to the ravages of time and weather. In particular, you may find issues like cracking, delaminating and the formation of white powdery material on your walls as they’re exposed to the elements.
Here’s what causes them and what to do:
Cracking
Any mortar or concrete structure is vulnerable to cracking. These cracks can then let the water in and, through a freeze/thaw cycle or some other mechanism, get bigger and bigger. There are numerous potential causes but the most common comes from shrinkage during the drying process.
Unless they’re particularly big or ugly, they’re not necessarily something to worry about. If they bother you, or they seem to be letting water in or growing, they can be patched or filled like any other cement wall.
Delamination
As parging is applied in layers, it can be prone to delamination if not handled correctly. This is the process of individual layers detaching from each other and the wall, resulting in sections coming loose. It’s generally a symptom of something going wrong during the curing process.
Like with cracking, a delaminated section can sometimes be patched. That being said, in particularly bad cases, it’s worth considering knocking it back to the wall and starting over.
Efflorescence
As water finds its way through microscopic cracks and tunnels within a concrete wall, sometimes it takes trace elements with it. When it dries, these elements are left behind on the surface and known as efflorescence.
This is a sign of water penetration and can usually be rectified with the application of a crystalline waterproofing solution. This reacts with the concrete of the wall to create tiny crystals, physically blocking the paths that water takes.
Maintenance
As with anything, prevention is better than a cure and a well maintained parged wall should last for years.
The first and most important element of maintaining your parging is to keep an eye on it. Regular inspections will allow you to get ahead of problems before they grow into serious issues. In particular, it’s worth repairing cracks quickly as they have a tendency to grow.
As a primarily aesthetic consideration, it’s worth keeping your parging clean. You can purchase biocides to keep algae and moss growth down or even wash it down with diluted bleach. Resist the urge to power-wash your walls though- you may end up forcing water through and creating more problems or worse- breaking chunks off.
When To Call A Professional
Parging a wall and maintaining it is something that a keen DIYer could do but the best results are always achieved by the pros. If you’re facing a complex repair or thinking about parging a large area, get someone with the experience in. Achieving a smooth finish takes years of practice and many tradesmen take real pride in their work for that very reason.
It’s also worth consulting with the professionals if your aim is primarily to boost your home’s waterproofing. They’ll be best positioned to advise you on your options and integrate the aesthetic appeal of parging into your defenses.
